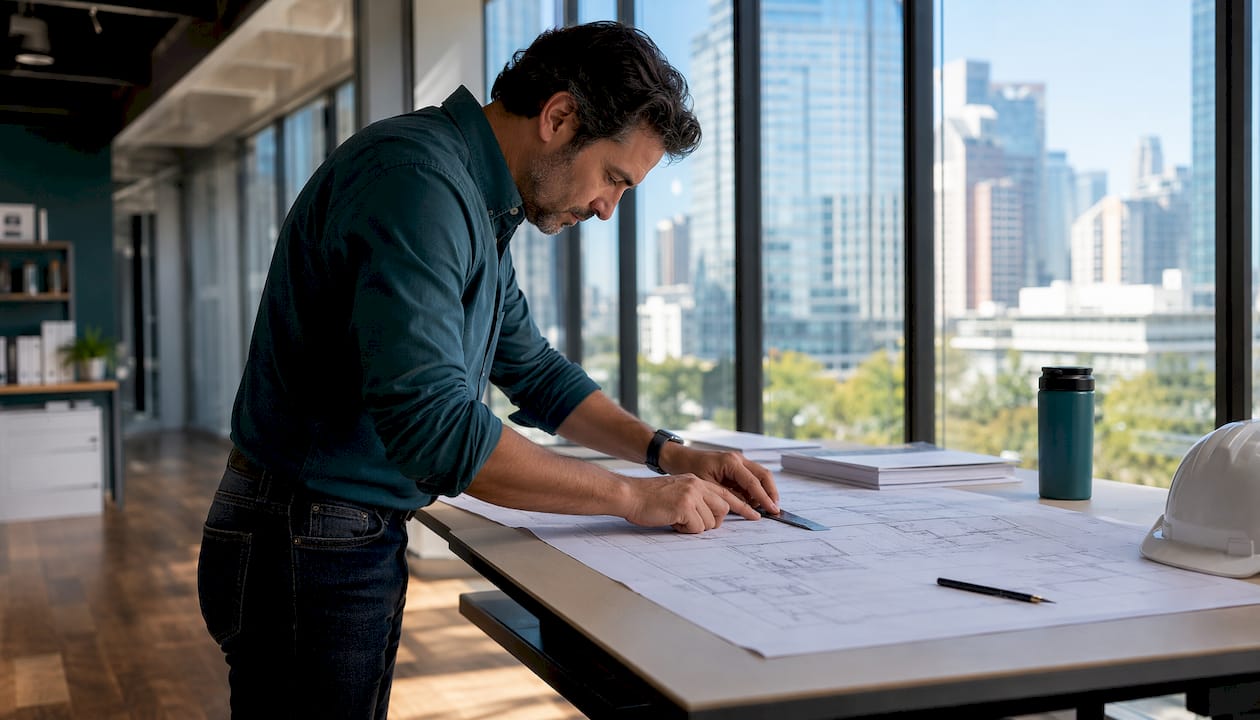
Pre-construction decisions lock in a substantial portion of total project costs before a single shovel hits the ground. That means the highest-impact ways to cut home construction costs are design decisions, not discount shopping. Here are the six moves that deliver the most savings:
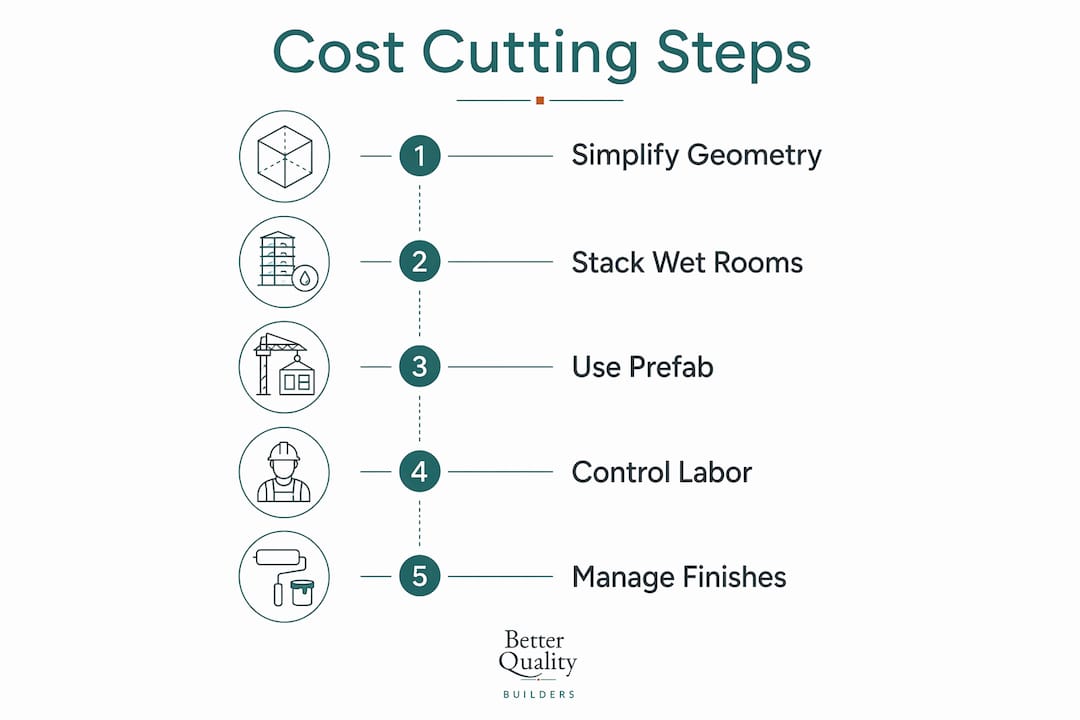
- Simplify your footprint and roofline. A rectangle with a simple gable roof costs noticeably less to frame than a complex, multi-gabled plan.
- Right-size square footage. Every square foot you remove saves on framing, foundation, roofing, HVAC, and finishes simultaneously.
- Stack wet rooms. Kitchens, baths, and laundry on the same plumbing wall or stacked vertically cut pipe runs, fittings, and labor.
- Standardize dimensions. Design to 2-foot and 4-foot increments so lumber and sheathing cut clean, reducing waste.
- Lock your design and contingency before permits. Change orders during construction typically cost 15–30% more than the same change made in the design phase.
- Bid competitively with itemized scopes. A competitive bid process routinely reveals a 10–20% spread between contractors on identical drawings.
Where to spend: foundation waterproofing, insulation, air sealing, and right-sized mechanical systems. Where to defer: appliances, countertops, lighting fixtures, and decorative tile. The National Association of Home Builders (NAHB) consistently emphasizes that envelope and structural quality protect long-term value far more than finish-level upgrades. Better Quality Builders applies this same principle with AirLight steel panels, which prioritize structural and thermal performance from the ground up.
Table of Contents
- 1. Design choices that deliver the biggest structural savings
- 2. Stack your wet rooms to cut plumbing and HVAC costs
- 3. Prefab, modular, SIPs, and alternative framing: what actually saves money
- 4. How to control labor costs through bidding, contracts, and sequencing
- 5. Managing finishes, allowances, and selections to protect your budget
- 6. Budget structure, contingency rules, and timeline math
- 7. Pre-build checklist: lock these decisions before breaking ground
- 8. When Better Quality Builders’ AirLight system is the right investment
- How construction financing choices affect your total budget
- Upfront cost versus long-term savings: how to think about the trade-off
- Lifecycle and maintenance costs: what cheap choices actually cost you
- Negotiation tactics that actually work with suppliers and subcontractors
- How local building codes and permit fees affect your budget
- Key Takeaways
- The real reason most builds go over budget
- Better Quality Builders builds for owners who think long-term
- Useful sources and further reading
1. Design choices that deliver the biggest structural savings
Geometry is your most powerful cost lever. A square or rectangular footprint with a single-ridge gable roof minimizes corners, reduces foundation perimeter, and simplifies framing. Every additional bump-out, bay window, or roofline change adds corners, custom framing, flashing details, and labor time. Removing a 4-foot bump-out from a living room, for example, can save $8,000–$15,000 depending on your market, because it eliminates foundation work, framing, roofing, siding, and interior finishing for that protrusion.
Two-story homes typically have a lower cost per square foot than single-story homes of the same size because the foundation and roof are shared across more living area. If your lot allows it, going vertical is one of the most reliable budget-friendly construction tips available.
Repeatable structural bays reduce labor time and material waste. When your framing crew encounters the same 16-foot bay repeated across a floor plan, they work faster and make fewer cuts. Design to standard lumber lengths and standard panel dimensions so material cuts align with structural needs.
| Design Move | Typical Savings | Trade-off |
|---|---|---|
| Rectangle vs. complex footprint | 10–20% on framing/foundation | Less visual variety from the street |
| Two-story vs. single-story | 8–15% per sq ft | Requires stairs; less accessible |
| Simple gable vs. hip/valley roof | 10–15% on roofing labor/materials | Less architectural drama |
| Remove one bump-out | $8,000–$15,000 per bump-out | Slightly tighter interior |
| Standard 2’/4’ grid design | 5–10% on material waste | Requires early coordination with designer |
Pro Tip: Put your architectural character in porches, window placement, and siding texture changes rather than roofline complexity. A well-placed covered porch adds curb appeal and livable outdoor space for a fraction of what a complex roofline costs.
2. Stack your wet rooms to cut plumbing and HVAC costs
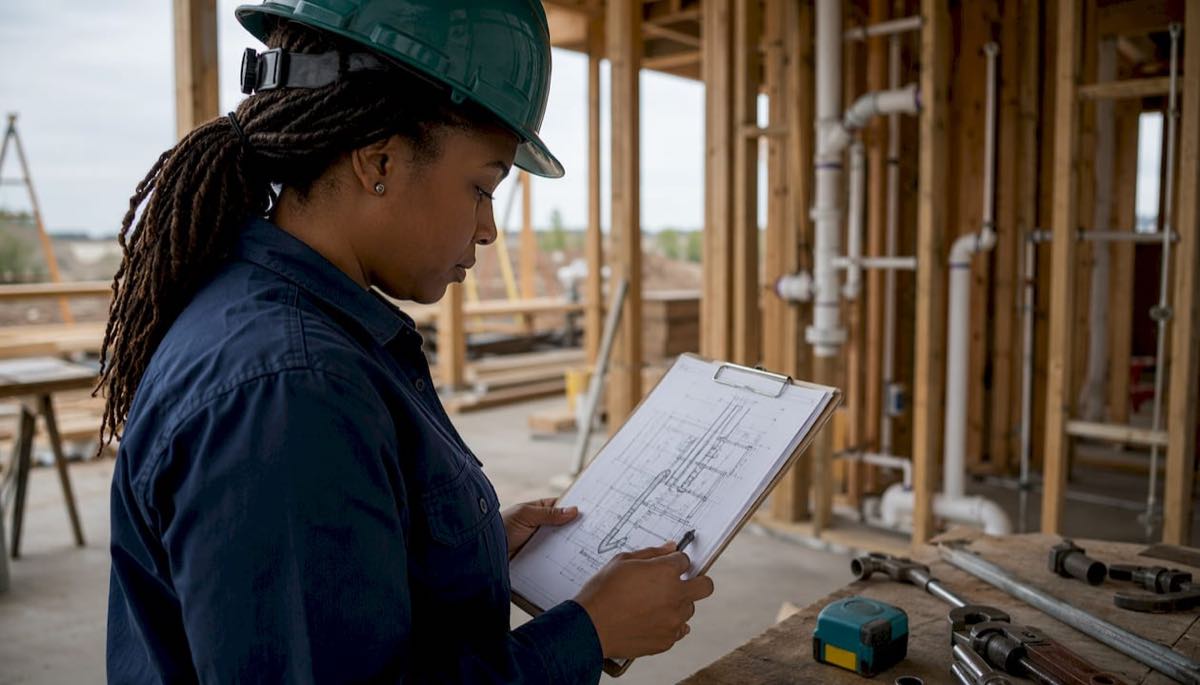
Grouping kitchens, bathrooms, and laundry near each other is one of the most reliable ways to save on construction because it shortens every pipe run, reduces the number of fittings, and concentrates your mechanical trades in one area. On a two-story home, placing a bathroom directly above the kitchen or laundry room means your plumber works in a single vertical chase rather than running supply and drain lines across the entire floor plate.
Scattered wet rooms force longer horizontal runs, more penetrations through framing, and more labor hours. The material difference alone can be meaningful: a bathroom placed 30 feet from the main plumbing stack requires significantly more pipe, more fittings, and more time than one placed directly above it.
- Locate the main plumbing stack centrally and design all wet rooms within 10–15 feet of it.
- Place the water heater in a mechanical closet adjacent to the highest-demand fixtures.
- Run HVAC supply and return in a consistent chase to avoid custom routing through structural members.
- Pre-size rough-in locations for future fixtures (a second bath, outdoor shower) to avoid expensive relocations later.
Pro Tip: Decide your mechanical panel location, water heater placement, and HVAC air handler position before your architect finalizes the floor plan. Moving these after framing starts is one of the most common sources of expensive change orders.
MEP systems (mechanical, electrical, and plumbing) typically represent a significant portion of a build budget. Concentrating them reduces that exposure without sacrificing function.
3. Prefab, modular, SIPs, and alternative framing: what actually saves money
Factory-built options have matured considerably. Modular construction typically costs less than comparable stick-built homes and finishes in a shorter time frame than conventional builds. That schedule compression matters beyond the sticker price: every month on a construction loan costs money, and shorter time-on-site reduces general conditions expenses (site supervision, temporary utilities, portable facilities, insurance).
Structural Insulated Panels (SIPs) offer a different trade-off. They arrive pre-cut and pre-insulated, which speeds framing and delivers a tighter building envelope out of the box. The upfront panel cost is higher than standard framing lumber, but reduced labor time and better air sealing often offset that premium over the build.
Post-frame construction (pole barns adapted for residential use) is cost-effective on rural sites or for accessory dwelling units where the foundation can be simplified. It is less common in suburban subdivisions where HOA rules or local codes may restrict it.
The risk you should not take: Waterproofing, HVAC tonnage, and electrical panel capacity are not places to cut. Undersizing a panel or skimping on vapor barriers creates problems that cost far more to fix after walls are closed. The savings from a cheaper HVAC unit evaporate the first time it runs continuously because it was sized for the budget, not the load.
Cheap international sourcing frequently backfires once shipping, customs delays, and quality-control issues are factored in. Domestic procurement from validated suppliers tends to be more reliable, especially when your schedule is tight.
4. How to control labor costs through bidding, contracts, and sequencing
Get at least three fully itemized bids on identical drawings. A competitive bid process regularly reveals a 10–20% spread between contractors on the same scope. That spread is not always about quality; it often reflects overhead structure, current workload, and how well the contractor understood your drawings. Line-item bids let you compare section by section rather than accepting a lump sum you cannot interrogate.
Contract types and what they mean for your budget:
- Fixed-price (lump sum): You know the number upfront. The contractor carries the risk of cost overruns, which means they price in a contingency. Best when drawings are complete and scope is fully defined.
- Cost-plus: You pay actual costs plus a fee. Transparent, but your exposure is open-ended unless you negotiate a guaranteed maximum price (GMP).
- GMP with shared savings: A cost-plus contract with a ceiling. If the project comes in under the GMP, savings are split between you and the contractor. This aligns incentives well for custom builds.
Poor sequencing and trade stacking quietly drain budgets through extended general conditions and idle time. When framers, electricians, and plumbers are all on site simultaneously without a clear sequence, they get in each other’s way and slow each other down. A tight schedule with defined trade windows reduces that friction.
- Ask every contractor for unit prices on likely change-order items (extra outlets, additional blocking, window size changes) before you sign.
- Require proof of bonding and general liability insurance before work begins.
- Break major trade packages (framing, mechanical, electrical) into separate bid packages when your GC allows it, to capture the spread between bidders directly.
Pro Tip: Ask your GC for open-book sub bids on at least the three largest trade packages. Seeing the actual sub quotes versus the GC’s markup gives you real leverage in negotiations and often reveals where the budget is going.
Understanding how home construction bids work before you sit down with contractors puts you in a much stronger position to compare proposals accurately.
5. Managing finishes, allowances, and selections to protect your budget
Allowances are where budgets quietly fall apart. A contractor writes “$5,000 for kitchen fixtures” and you select $12,000 worth. The difference becomes a change order. Clear allowances specify material cost, installation cost, quantity, and spec level separately so every bidder prices the same thing.
| Finish Category | Conservative Allowance | Mid-Range Allowance | What to Never Cut |
|---|---|---|---|
| Kitchen appliances | — | $8,000–$15,000 | Subfloor prep, waterproofing |
| Countertops | $3,000–$5,000 | — | Insulation and air sealing |
| Lighting fixtures | — | $5,000–$10,000 | Electrical panel capacity |
| Flooring (per sq ft) | $3–$5 installed | $7–$12 installed | HVAC sizing |
| Bathroom tile | $4–$8 per sq ft | $12–$20 per sq ft | Foundation waterproofing |
Appliances, countertops, and decorative lighting can all be upgraded after move-in with minimal disruption. Subfloor prep, foundation waterproofing, and insulation cannot. Cutting corners on the building envelope creates moisture problems, mold, and energy waste that cost far more to fix than they saved at the time.
Pro Tip: Choose one or two “hero” finishes, such as a statement tile in the primary bath or a distinctive front door, and keep everything else in a consistent, neutral palette. The contrast makes the hero finishes look more intentional and expensive than they are.
Understanding what causes home energy loss helps you prioritize which envelope details deserve full budget and which cosmetic choices can wait.
6. Budget structure, contingency rules, and timeline math
A realistic construction budget has four components: hard costs (labor and materials), soft costs (design, permits, engineering, typically 10–15% of hard costs), site development (grading, utilities, driveway), and financing carry costs. Builders and owners routinely underestimate the last two.
Contingency rules:
- Set 10% contingency for production or semi-custom builds with complete drawings.
- Set 15% or more for fully custom builds, complex sites, or projects with significant unknowns.
- Treat contingency as untouchable unless a genuine unknown arises. Spending it on upgrades is how projects go over budget.
| Phase | Typical Duration | Cost Driver |
|---|---|---|
| Design and permitting | 2–5 months | Soft costs, permit fees |
| Site prep and foundation | 3–6 weeks | Site conditions, soil type |
| Framing and rough-ins | 6–10 weeks | Labor sequencing, weather |
| Insulation, drywall, finishes | 8–14 weeks | Finish selections, change orders |
| Final inspections and close-out | 2–4 weeks | Local jurisdiction speed |
Every week a project runs long adds general conditions costs and, if you are carrying a construction loan, interest charges. Compressing the schedule by two months on a $500,000 build can save $5,000–$10,000 in carrying costs alone, depending on your loan rate.
7. Pre-build checklist: lock these decisions before breaking ground
The single most effective way to avoid expensive change orders is to finalize decisions before permits are pulled. Change orders on-site cost 15–30% more than the same change made during design.
Lock before permit submission:
- Final floor plan with all room dimensions confirmed
- Roofline and structural system selected
- Plumbing stack locations and wet room layout finalized
- Electrical panel location and service size confirmed
- HVAC system type and equipment location set
- Window and door sizes locked (standard sizes only)
- Foundation type and waterproofing spec approved by engineer
Lock before framing begins:
- Structural details for any non-standard openings or beams
- Blocking locations for future grab bars, TV mounts, and cabinetry
- Rough-in locations for future fixtures
Lock before drywall:
- All lighting fixture locations and switch configurations
- Plumbing fixture selections (to confirm rough-in dimensions)
- Fireplace or built-in specifications
Ask every trade partner for itemized allowances in writing, unit prices for likely change-order items, and a schedule with defined milestone dates. Documentation at each phase is what separates on-budget builds from ones that spiral.
8. When Better Quality Builders’ AirLight system is the right investment
Some cost-cutting strategies pay off at closing. Others pay off over decades. Better Quality Builders’ AirLight steel panel system falls in the second category, and for the right client, the math is compelling.
AirLight steel panels deliver up to 60% lower energy bills compared with conventional construction. On a home with $3,000 in annual energy costs, that is a potential savings of $1,800 per year, or $18,000 over ten years, before accounting for energy price increases. You can calculate energy savings for a steel home based on your specific climate zone and floor plan.
Who benefits most from this system:
- Owners with a long time horizon (10+ years in the home) where lifecycle savings outweigh any upfront premium
- Builds in high-energy-cost markets or extreme climates (hot desert, hurricane zones, seismic areas)
- Clients who want low maintenance and minimal repair costs over time
- Projects where schedule compression matters, since panelized systems reduce time-on-site
How to evaluate a specialty builder:
- Request factory quality-assurance documentation and third-party testing results.
- Ask for references from completed projects in similar climates.
- Compare warranty terms on the structural system versus a conventional framing warranty.
- Request an open-book cost breakdown so you can see where the system premium goes.
Better Quality Builders integrates the cost-cutting tactics covered throughout this guide, including simplified geometry, stacked systems, and locked pre-construction decisions, into their standard process. Durable homes reduce repair costs over time in ways that conventional cost comparisons rarely capture.
Pro Tip: Ask any specialty builder to model total cost of ownership over 20 years, not just construction cost. A $30,000 upfront premium that saves $2,000 per year in energy and maintenance pays for itself in 15 years and continues generating savings after that.
How construction financing choices affect your total budget
The loan type you choose shapes your total project cost as much as any single design decision. Construction-to-permanent loans (also called one-time-close loans) roll the construction phase and the permanent mortgage into a single closing, which saves on closing costs and reduces the risk of rate changes between phases. Stand-alone construction loans require two closings and two sets of fees.
During the construction phase, you typically pay interest only on drawn funds. That means a faster build schedule directly reduces your interest expense. A project that draws $400,000 over 8 months versus 14 months pays substantially less in interest charges. Locking a favorable rate before construction starts protects you if rates rise during the build.
Owner-builder arrangements, where you act as your own general contractor, can reduce GC markup but come with real risks. Subcontractors price one-time clients higher than repeat customers, insurance costs increase, and mistakes that a professional would catch early tend to surface late and expensively.
Upfront cost versus long-term savings: how to think about the trade-off
The cheapest material at purchase is rarely the cheapest material over a 20-year horizon. Fiberglass insulation at R-15 costs less than spray foam at R-21, but the spray foam’s air-sealing performance reduces HVAC load and energy bills every year for the life of the home. The IRS Energy Efficient Home Improvement Credit also allows homeowners to offset some of the cost of qualifying insulation, windows, and HVAC upgrades, which changes the upfront math.
The same logic applies to roofing, windows, and mechanical systems. ENERGY STAR-certified windows cost more than code-minimum units but reduce heating and cooling loads measurably. The payback period depends on your climate and energy costs, but in most U.S. markets it falls within 7–12 years. After that, the savings are pure.
Energy savings can offset build cost in ways that a simple construction budget comparison misses entirely. Model both scenarios before defaulting to the cheaper option.
Lifecycle and maintenance costs: what cheap choices actually cost you
A vinyl floor installed for $3 per square foot may need replacement in 10 years. Hardwood or tile at $8–$12 per square foot installed can last the life of the home. The same principle applies to roofing, siding, and mechanical equipment. Choosing a 15-year asphalt shingle over a 30-year architectural shingle saves money at closing and costs more over the building’s life.
Maintenance costs are also labor-intensive in ways that are easy to underestimate. A wood exterior requires painting every 5–7 years. Fiber cement or steel cladding requires almost none. The cumulative labor and material cost of repeated maintenance cycles often exceeds the upfront premium for the more durable option within 15–20 years.
The low-maintenance custom home approach prioritizes material choices that reduce intervention over time, which is a legitimate cost-cutting strategy when you account for the full ownership period rather than just the construction budget.
Negotiation tactics that actually work with suppliers and subcontractors
Negotiation in construction works best before you are committed to a contractor, not after. Once a sub is mobilized on your site, your leverage drops sharply. The most effective tactics happen at the bid stage.
Request itemized bids, not lump sums. When a plumber quotes $28,000 for rough-in and finish, you cannot negotiate intelligently. When they quote $14,000 for rough-in and $14,000 for finish with a fixture allowance of $4,500, you can compare line by line against other bids and ask specific questions.
Pay promptly and in full. Subs who trust that you pay on time will price future work more competitively and prioritize your schedule. Slow-pay owners get priced with a risk premium baked in. Offering to pay material invoices directly (rather than through the GC) can also reduce markup on materials.
Volume and timing matter. If you are building during a slow season or in a market where a trade is not fully booked, you have real leverage. Asking a framing crew if they have a gap in their schedule in February often gets a better price than calling them in May when they are booked through fall.
How local building codes and permit fees affect your budget
Permit fees vary widely across U.S. jurisdictions and can range from a few hundred dollars for a simple addition to tens of thousands for a new custom home in a high-cost metro area. Some municipalities charge a flat fee; others charge a percentage of construction value. Knowing your local fee schedule before you finalize your budget prevents surprises.
Code requirements also vary by jurisdiction and can add meaningful cost. Energy codes in California (Title 24) and similar high-performance states require insulation levels, window performance, and mechanical efficiency that exceed federal minimums. Building in a flood zone, wildfire interface area, or seismic zone adds structural requirements and sometimes mandates specific materials or systems.
The most effective way to manage code-driven costs is to engage a local architect or permit expediter early. They know which requirements apply, which variances are available, and how to design to code minimums without over-engineering. Pulling permits correctly the first time also avoids costly stop-work orders and reinspection fees.
Key Takeaways
Pre-construction design decisions determine a large majority of your total build cost, making geometry, systems layout, and locked specifications the highest-leverage places to focus your budget-cutting effort.
| Point | Details |
|---|---|
| Design geometry first | Simplify footprint and roofline before anything else; this saves 10–20% on framing and foundation. |
| Stack wet rooms | Grouping plumbing fixtures cuts MEP costs, which represent 30–40% of a typical build budget. |
| Lock specs before permits | Change orders on-site cost more than design-phase changes; finalize selections early. |
| Bid competitively | Itemized competitive bids reveal 10–20% spreads; open-book sub bids reduce GC markup. |
| Better Quality Builders | AirLight steel panel homes deliver up to 60% lower energy bills, making them a strong fit for owners focused on lifecycle cost over initial construction price. |
The real reason most builds go over budget
Most owners overspend in the same two places: finish selections that exceed allowances and change orders triggered by decisions that were not locked before construction started. The fix is not discipline at the hardware store. It is a complete set of drawings, locked specifications, and a signed allowance schedule before the first permit is submitted.
The conventional wisdom says to shop for the cheapest contractor. The better move is to shop for the most transparent one. A contractor who gives you an open-book budget with itemized line items and unit prices for change orders is worth more than one who comes in 10% lower on a lump-sum bid you cannot verify. The lump-sum bid hides where the money goes; the open-book bid shows you.
One observation worth making: owners who spend more time in the design phase almost always spend less in the field. Every hour with your architect reviewing structural options, window sizes, and plumbing layouts returns multiples in avoided change orders and rework. The design phase is not overhead. It is the highest-return investment in your entire project.
Better Quality Builders builds for owners who think long-term
If your priority is a home that costs less to run, requires minimal maintenance, and holds up in extreme conditions, Better Quality Builders’ AirLight steel panel system is worth a serious look. The system is built from the same steel panel technology used in hurricane and earthquake zones worldwide, and it delivers up to 60% lower energy bills compared with conventional construction.
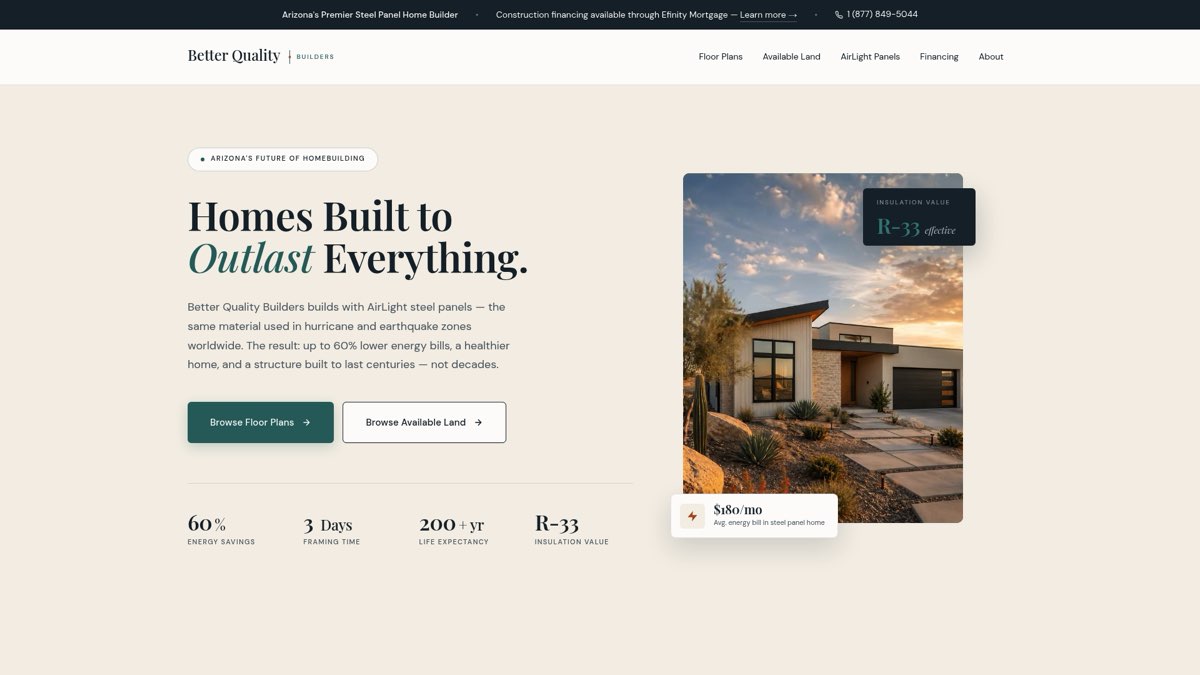
Better Quality Builders works best with clients who have a clear site, a defined budget, and a long time horizon. If you are building in Arizona and want an itemized quote, energy modeling for your specific floor plan, and case studies from completed projects, the next step is a consultation. Bring your preliminary floor plan, your site address, and your target budget. Better Quality Builders will show you exactly where the AirLight system fits your numbers and where it does not.
Request a quote or review available plans to see how the system applies to your build, or visit Better Quality Builders to start a conversation about your project.
Useful sources and further reading
| Source | Why It’s Useful | Sections Supported |
|---|---|---|
| NAHB: 8 Strategies for Reducing Construction Costs | Industry-standard guidance on square footage, roof simplicity, and finish deferrals | Design choices, finishes |
| U.S. Census Bureau: Characteristics of New Housing | National data on new home construction trends and size | Budget structure, design |
| IRS: Energy Efficient Home Improvement Credit | Federal tax credit for qualifying insulation, windows, and HVAC upgrades | Upfront vs. lifecycle cost |
| ENERGY STAR: Windows, Doors & Skylights | Performance criteria for certified windows; useful for envelope trade-off analysis | Lifecycle cost, finishes |
| FHP Contracting: Budget Building House Guide | Practical breakdown of pre-construction cost-locking and contingency rules | Budget structure, BLUF |
| Better Quality Builders: AirLight Panels | Publisher’s product page for steel panel system; energy and durability claims | Publisher solution section |